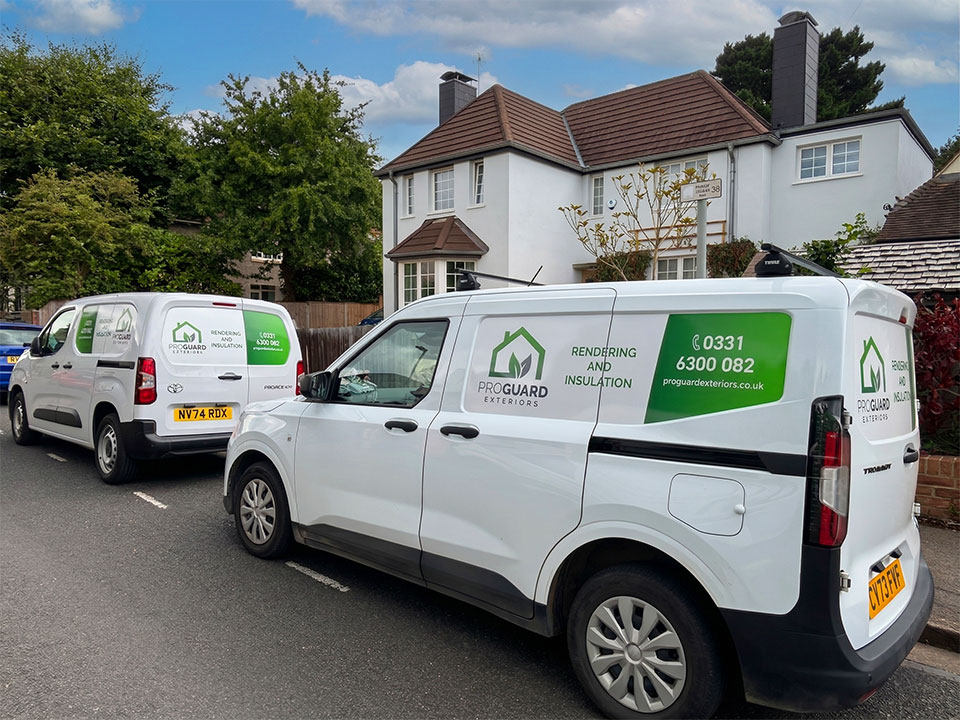
PROGUARD EXTERIORS
Spray Cork Coating Experts in South East England
SPECIALISTS IN SPRAY CORK, EXTERIOR WALL COATINGS, PAINTING & EXTERNAL WALL INSULATION

 Your email address will never be shared. By submitting this form you are agreeing to receive messages from ProGuard Exteriors


ProGuard Exteriors
AWARD-WINNING SHDF / WH:SHF INSTALLER
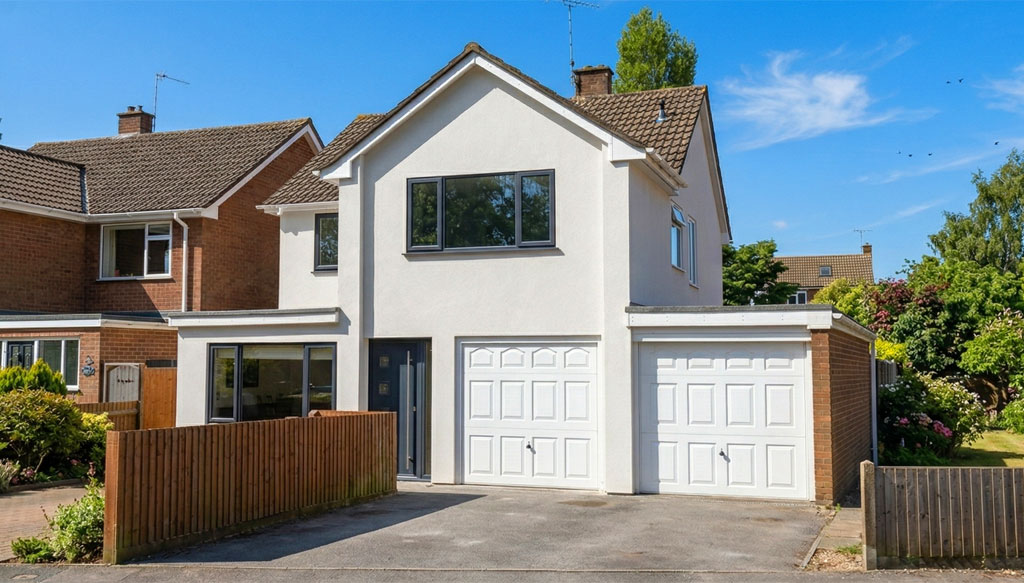
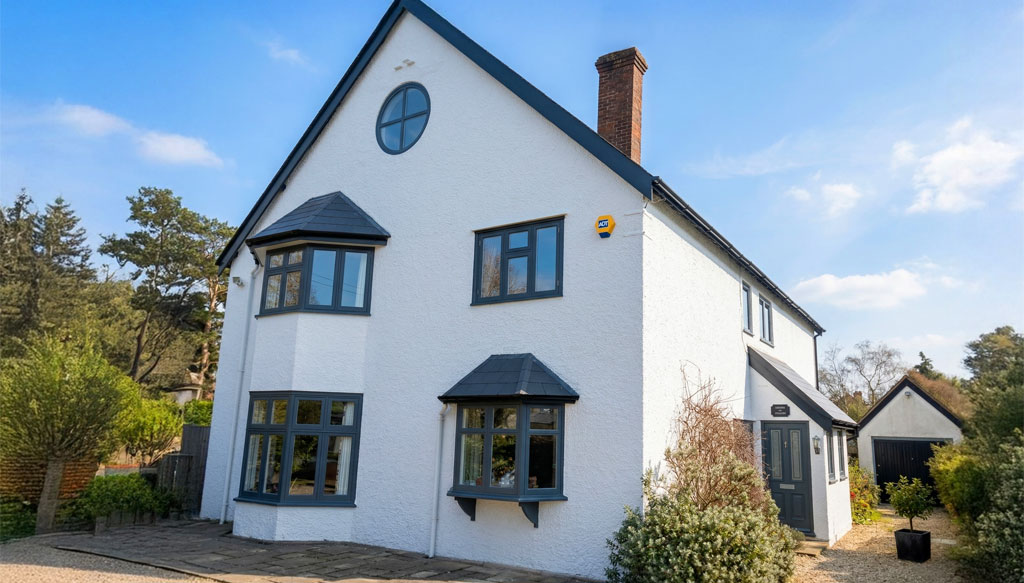
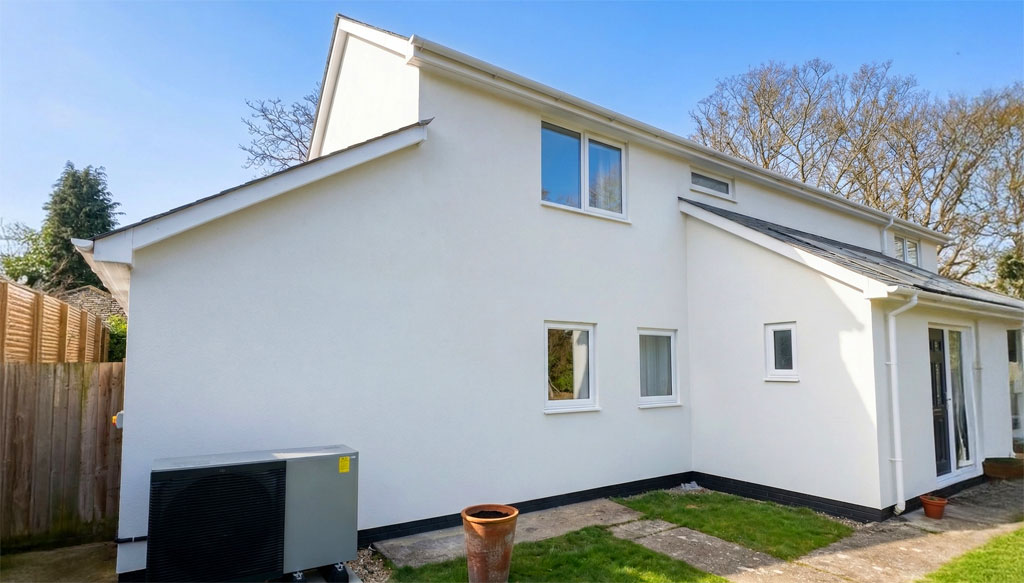
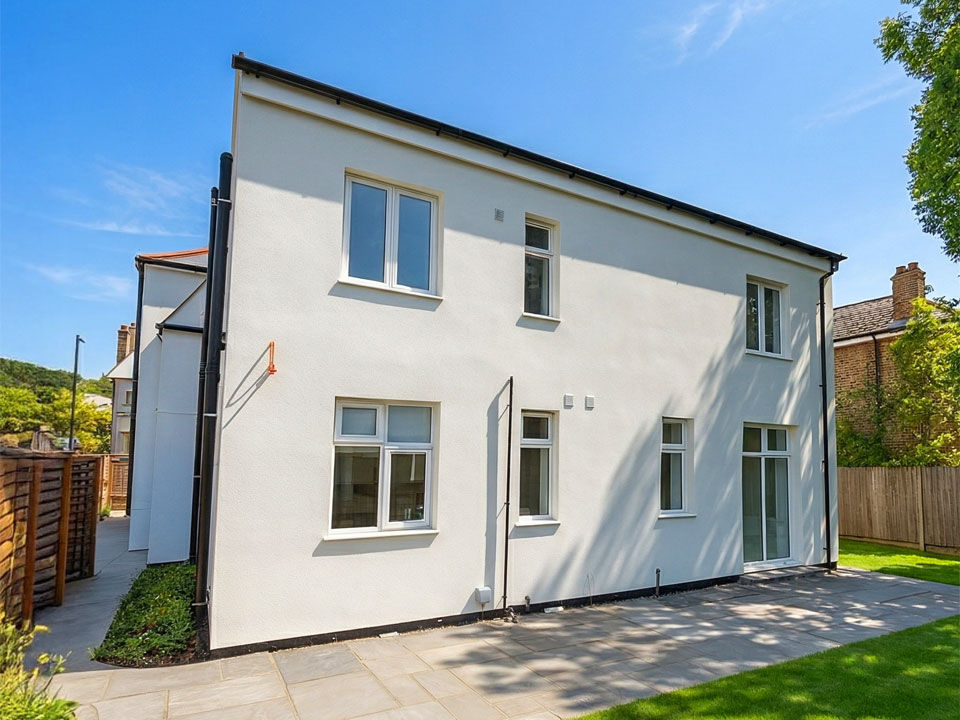
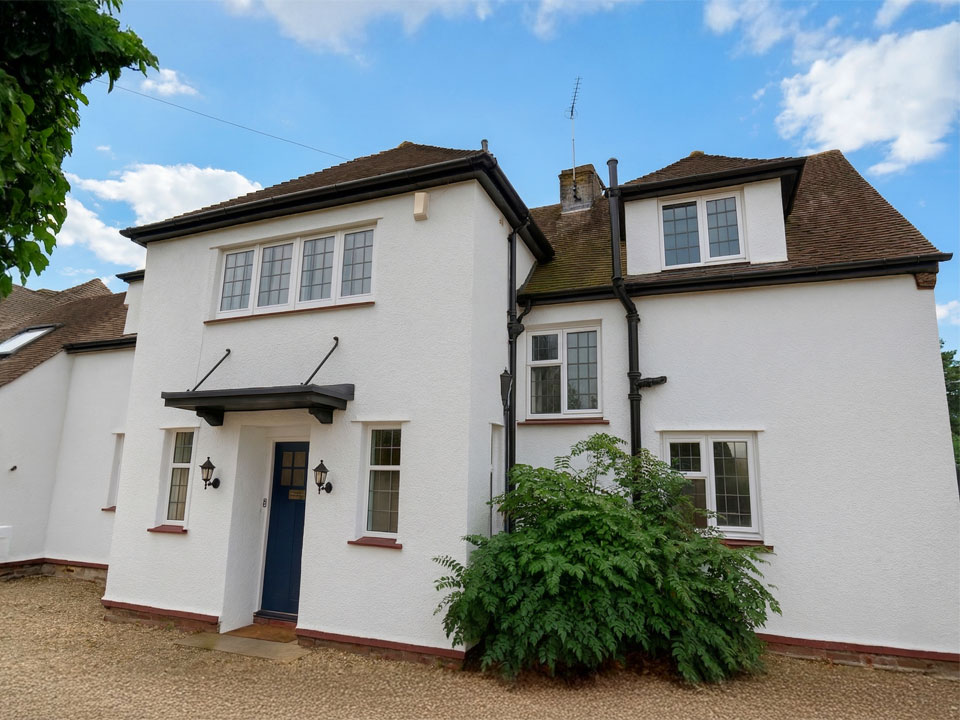
ProGuard Exteriors are leading specialists in spray cork coatings, wall coatings and painting, external wall insulation, rendering, and commercial facade renovation.
Our expertise in exterior painting, modern insulation systems and protective coatings allows us to deliver long-lasting results that perform as well as they look. By focusing solely on external wall solutions we bring a sharp attention to detail and deep technical knowledge to every project.
With over 20 years of experience we deliver high-quality exterior solutions tailored to enhance energy efficiency, protect buildings, and improve kerb appeal across Oxford and South East England. We work on projects of all sizes, including both residential and commercial, and offer a professional service whether acting as the main contractor or as part of a wider team.
Whether you’re looking to improve thermal performance, transform tired facades, or deliver lasting protection, ProGuard Exteriors is your trusted partner in exterior coatings and insulation.
If you already know what you need, get a free quote today. If you’re not sure, request a free survey, and we’ll guide you through the best solutions for your property…
ProGuard Exteriors are leading specialists in spray cork coatings, wall coatings and painting, delivering eco-friendly, durable, and high-performance solutions for homes and commercial properties across Oxford and the South East.
Spray cork improves energy efficiency, reduces heating bills, resists cracking, and provides lasting protection against damp, salt, and weather damage.
With over 20 years’ experience, we ensure every project combines performance with stunning results. Transform your property with the sustainable alternative to traditional renders.…
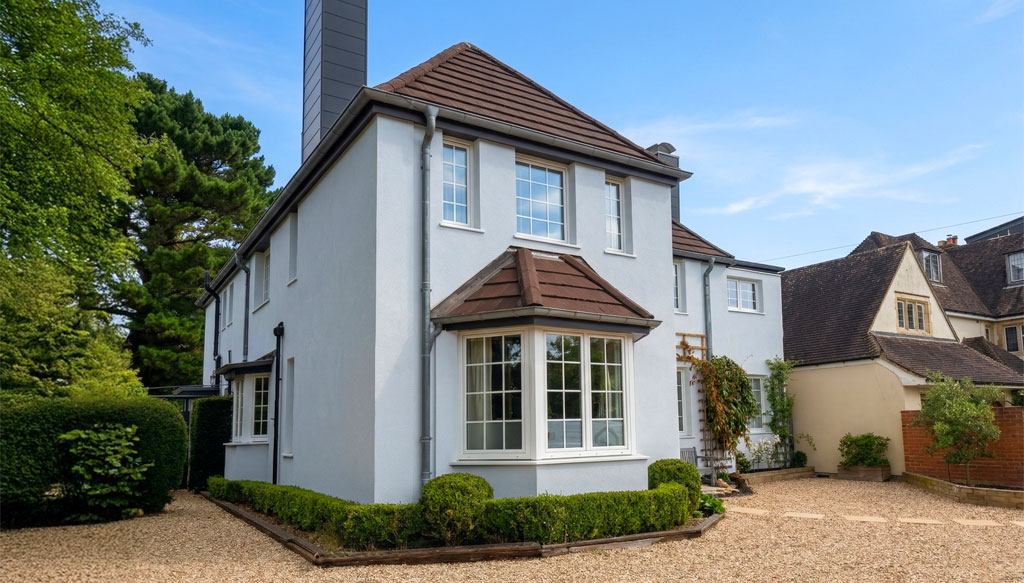
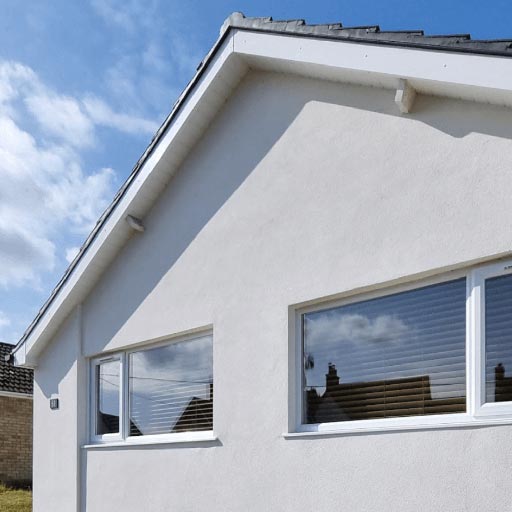
Durable Wall Protection
Upgrade your property with sprayed cork coatings and enjoy an eco-friendly solution trusted by UK homeowners.
Offering natural insulation, moisture resistance, sustainability, flexibility, and a modern finish, it reduces noise while protecting against fire, damp, and cracking. Quick to apply and highly durable, sprayed cork coatings enhance kerb appeal and energy efficiency. Enjoy long-term protection and a healthier environment with lasting performance you can trust.
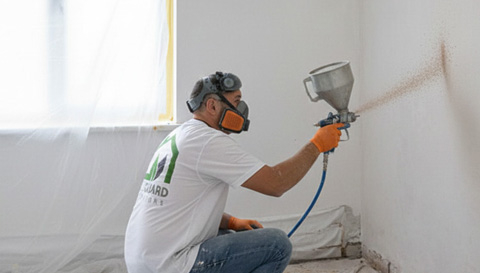
CorkSol Approved Applicators
CorkSol SprayCork is the eco-friendly, high-performance alternative for customers wanting a stylish, durable home finish.
Beyond weatherproofing, B-rated fire resistance, acoustic absorption, and natural defence against cracks, damp, algae, and moss, it delivers sustainable thermal performance, superior finish, and 28 colour options. With fast application and a 25-year warranty, SprayCork ensures durable, attractive results for every project.
Durable Wall Protection
Upgrade your property with sprayed cork coatings and enjoy an eco-friendly solution trusted by UK homeowners.
Offering natural insulation, moisture resistance, sustainability, flexibility, and a modern finish, it reduces noise while protecting against fire, damp, and cracking. Quick to apply and highly durable, sprayed cork coatings enhance kerb appeal and energy efficiency. Enjoy long-term protection and a healthier environment with lasting performance you can trust.
CorkSol Approved Applicators
CorkSol SprayCork is the eco-friendly, high-performance alternative for customers wanting a stylish, durable home finish.
Beyond weatherproofing, B-rated fire resistance, acoustic absorption, and natural defence against cracks, damp, algae, and moss, it delivers sustainable thermal performance, superior finish, and 28 colour options. With fast application and a 25-year warranty, SprayCork ensures durable, attractive results for every project.
Our Services
Whether you’re aiming to boost thermal efficiency, refresh outdated facades or ensure long-lasting protection, ProGuard Exteriors is your trusted partner for award-winning exterior insulation and renovation services…
Spray Cork Insulation
Sprayed cork insulation is a method of insulation used to insulate the exterior walls of a property which results in improved thermal performance, decreased energy…
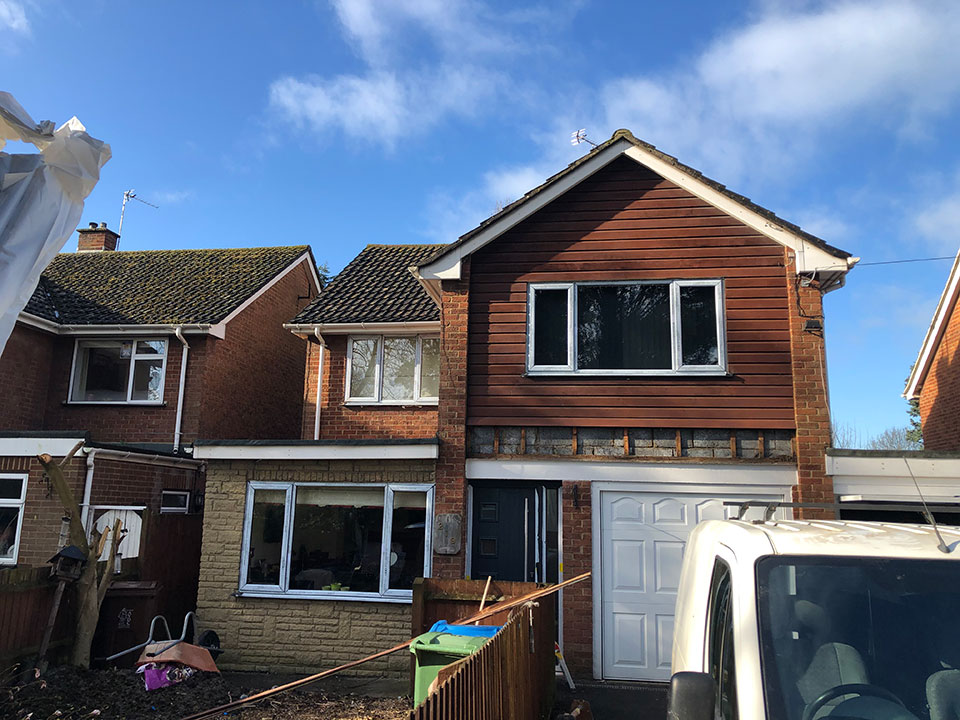
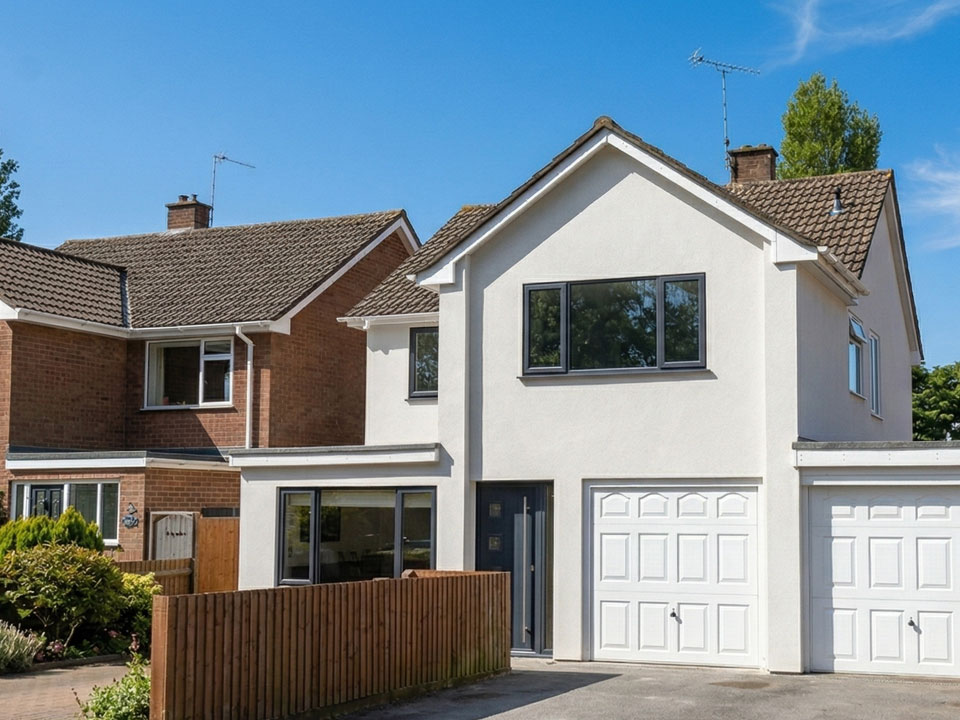
External Wall Insulation
External wall insulation is a method used to insulate the exterior walls of a building to improve thermal performance, reduce heat loss, decrease energy consumption and…
Internal Wall Insulation
Ideal for older buildings or areas prone to condensation, our internal spray cork insulation provides lasting benefits with minimal loss of space or aesthetic…
Exterior Wall Coatings & Painting
Exterior wall coatings and painting are an excellent investment for any property owner looking to improve the appearance and durability of their building’s exterior…
External Wall Rendering
ProGuard Exteriors provide bespoke external rendering packages for homeowners, developers and businesses across all areas in South East England. Our in-house team…
Commercial Services
With over 20 years experience working on a variety of commercial projects as the main or sub-contractor, we’ve seen most types of developments, from the mainstream…
CLIENT TESTIMONIALS
“ProGuard Exteriors is an excellent company to deal with and we cannot recommend them highly enough. Their teams are reliable, efficient, effective and a pleasure to deal with. The end results they have produced on our exterior walls are superb!”
~ David L.
Wallingford, Oxfordshire
![]()
“ProGuard have done an excellent job on a difficult house requiring a number of different treatments. Thanks especially to Dave who coordinated much of the work and his colleagues who worked extremely hard to finish it.”
~ Keith F.
Bicester, Oxfordshire
![]()
“I'm very pleased with my external insulation! The house looks beautiful and feels very warm. ProGuard Exteriors were very easy to deal with and if there were glitches they fixed them promptly. I'd be very happy to recommend this company!”
~ Meriel R.
Thame, Oxfordshire
![]()
SERVING THE SOUTH EAST
ProGuard Exteriors proudly serves the whole of South East England, delivering expert solutions in spray cork coatings, external wall insulation, wall coatings and painting, rendering, and commercial facade renovation. With our local knowledge and specialist expertise, we provide tailored services for residential and commercial projects of all sizes.
25 YEARS GUARANTEE
ProGuard Exteriors stands behind the quality of our work, offering up to 25 years guarantee on our coatings and finishes. This long-term commitment provides peace of mind, ensuring your property remains protected, durable, and visually appealing for years to come.
20 YEARS EXPERTISE
With more than two decades of industry experience, ProGuard Exteriors brings seasoned skill and technical knowledge to every project. From modern insulation systems to decorative rendering and commercial facades, we consistently deliver professional, high-quality results.
ACCREDITED & FULLY INSURED
Our installers are fully insured and accredited by leading industry bodies. Whether working on residential rendering, external wall insulation, or large commercial projects, our highly trained team ensures reliable results with complete safety and compliance.
TRUSTMARK APPROVED
ProGuard Exteriors is endorsed by Trustmark and QualityMark Protection, guaranteeing that our services meet the highest industry standards. These recognitions provide assurance of quality, reliability, and professionalism across all our insulation and rendering solutions.
FREE QUOTES
ProGuard Exteriors offers free, no-obligation quotations for all spray cork, wall coating, insulation, and rendering projects. Whether you’re refreshing a home facade or upgrading a large commercial property, our experts are ready to help you achieve lasting protection and style.
Your email address will never be shared. By submitting this form you are agreeing to receive messages from ProGuard ExteriorsProGuard Exteriors Ltd
 Registered Office: 4 Cromwell Court, New Street, Aylesbury, Bucks HP20 2PB
Registered in England and Wales No. 10352234 | VAT Number: 265 6002 17
enquiries@proguardexteriors.co.uk
03316 300 082
Monday to Friday 8:00am - 6:00pm / Weekends - Closed